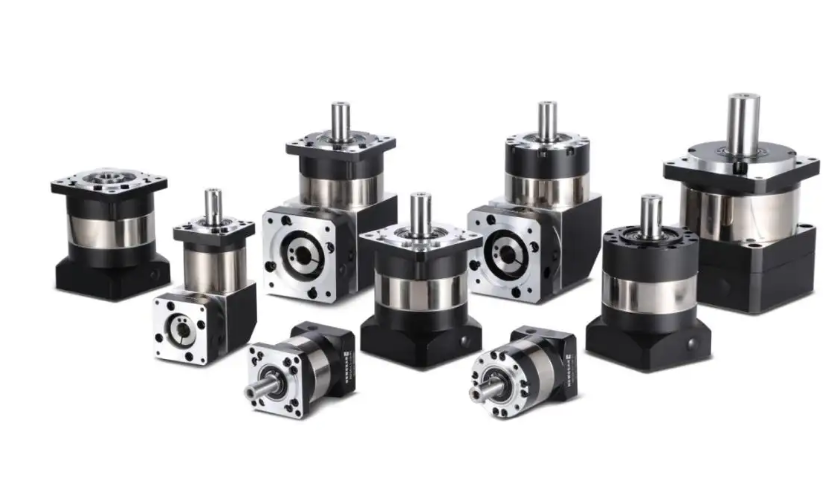
The correct installation, use, and maintenance of precision planetary reducers are important steps in ensuring the normal operation of mechanical equipment. Therefore, when installing the planetary gearbox, please strictly follow the following installation and usage instructions and assemble it carefully.
Step 1: Confirm that the motor and reducer are intact and undamaged, and check whether the dimensions of the various parts connected to the motor and reducer match.

Step 2: Unscrew the screws on the outer dust-proof hole of the reducer flange, adjust the PCS system clamping ring to align its side hole with the dust-proof hole, insert it into the hexagonal socket and tighten it. Afterwards, remove the motor shaft key. Before installation, the anti rust oil on the motor input shaft, positioning protrusion, and connection parts of the reducer should be wiped clean with gasoline or zinc sodium water.
Step 3: Connect the motor and reducer naturally. When connecting, it is necessary to ensure that the output shaft of the reducer is concentric with the input shaft of the motor, and that the outer flanges of the two are parallel. This can extend the service life and achieve ideal transmission efficiency and lower noise. In addition, it is strictly prohibited to use hammers or other tools to strike during installation to prevent excessive axial or radial forces from damaging bearings or gears. Be sure to tighten the installation bolts before tightening the tension bolts.
Step 4: After installation, the gearbox should rotate flexibly by hand without any jamming phenomenon. Before starting up, all connecting screws should be tightened. The no-load test should be conducted for no less than 2 hours, and the operation should be smooth, without impact, vibration, noise, or oil leakage. If any problems are found, they should be promptly eliminated. Regularly check whether all fasteners are loose during use to ensure normal operation.